Introduction
If you followed this tutorial, you should already have a working PWA set up and be able to create subscriptions using pushManager and send push messages to your service worker using Push Companion.
However, one thing I got stuck on and that lack documentation is how to generate private & public key pairs and actually send push messages to the service worker from your own server. Originally I wanted to just not sign the message so I don't need to deal with all this key generation nonsense, but I later found out that Chrome requires you to provide the applicationServerKey parameter when creating a subscription.(although Firefox doesn't) So I had to make it work anyway.
So let me first get a few things clear. Now it's clear that we need a public and a private key so we can sign the message and prove we(the server) are actually the owner of the private key, but we just don't know how to generate the keys in the correct format. If this describes you, don't worry. I will demonstrate exactly how to set it up in this article.
I will be using python for this tutorial, but you should be able to implement the same logic in other languages as long as you understand the core concept.
Key Generation
First you need to generate a private key:
# generate a private key for a curve
openssl ecparam -name prime256v1 -genkey -noout -out private_key.pem
I couldn't figure out how to get the corredponding public key and got stuck. You CAN actually generate the public key with this command:
# generate corresponding public key
openssl ec -in private-key.pem -pubout -out public-key.pem
But we DO NOT need the public key file because the private key itself contains the public key, and we will be able to read the public key from private_key.pem with code.
Extract Public Key in Correct format
Because pushManager.subscribe expect the applicationServerKey to be a certain format, we need to first get the public key in the correct format from the server in order to create a subscription.
First, install ecdsa because we need it to read the key file:
pip install ecdsaIf you are using other languages, you should be able to find similar libraries.
Then, we are going to load the key file and extract the public key. A few things to note here:
- We need to prepend
'\x04'(which is just00000100in bits) to the public key if your library doesn't do it for you pushManager.subscribeexpectapplicationServerKeyto be in base64, so we need to base64 encode the key here- Base64 pads equal signs at the end if your string length is not a multiple of 3. Remove the equal sign padding at the end.
def get_public_key():
    with open('app/keys/private_key.pem', 'r', encoding="ascii") as f:
        content = f.read()
        my_key = ecdsa.SigningKey.from_pem(content)
        # Get the public key
        vk = my_key.get_verifying_key()

        # The "0x04" octet indicates that the key is in the
        # uncompressed form. This form is required by the
        # server and DOM API. Other crypto libraries
        # may prepend this prefix automatically.
        raw_public_key = bytes('\x04', 'ascii') + vk.to_string()

        # base64 encode the key and strip padding('=')
        public_key = base64.urlsafe_b64encode(
            raw_public_key).strip(bytes('=', 'ascii'))
        return public_key
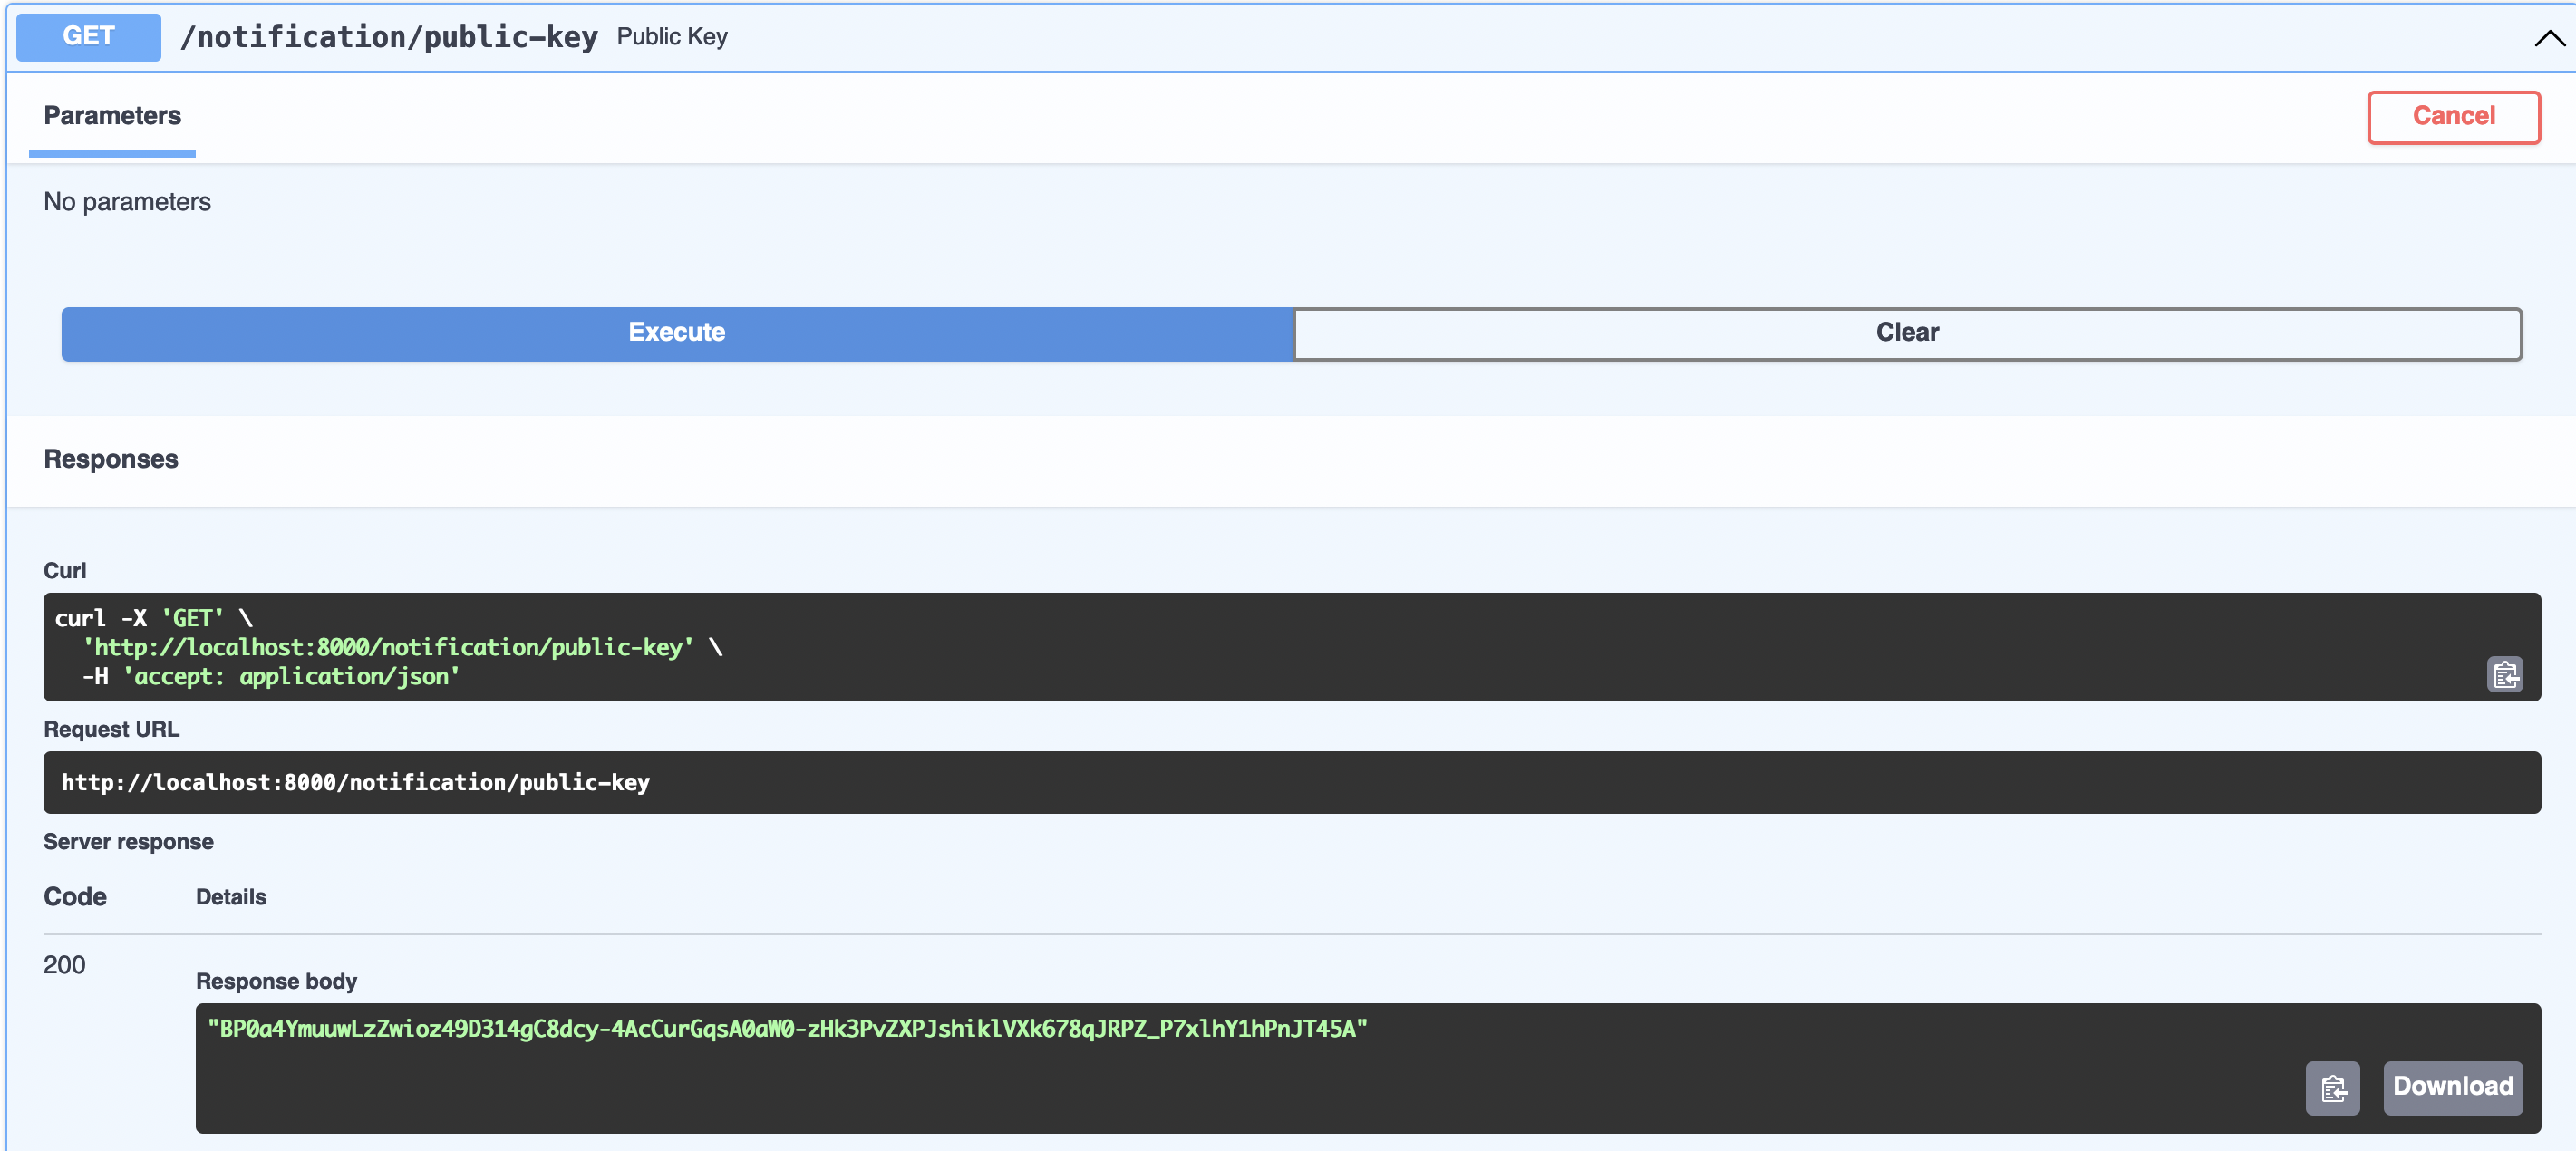
Now you should be able to get the correct public key! Next I will expose and endpoint for the frontend to fetch the public key. I use fastapi here but you can use any web framework you want. Of course you could just print the result and hard-code the public key in the frontend code.
@router.get("/notification/public-key")
def public_key():
    return get_public_key()
Now the endpoint should expose the public key!

Frontend Subscription
With the public key, we can now subscribe in the frontend code. (For this example, I will just hard-code the public key. Feel free to fetch the key from your API server)
Note that you need to save the pushSubscription object, which contains the subscription url and some other necessary information in your database so you can send push messages later. I recommend that you just JSON.stringify it and save the entire object.
function urlB64ToUint8Array(base64String: string) {
  const padding = "=".repeat((4 - (base64String.length % 4)) % 4)
  const base64 = (base64String + padding).replace(/\-/g, "+").replace(/_/g, "/")

  const rawData = window.atob(base64)
  const outputArray = new Uint8Array(rawData.length)

  for (let i = 0; i < rawData.length; ++i) {
    outputArray[i] = rawData.charCodeAt(i)
  }
  return outputArray
}

function saveSubscription(subscriptionInfo: string){
    // TODO: send subscription info to your server
}


function handleSubscribe() {
  navigator.serviceWorker.ready.then(
    (serviceWorkerRegistration) => {
      const applicationServerKey = urlB64ToUint8Array(
        "BP0a4YmuuwLzZwioz49D314gC8dcy-4AcCurGqsA0aW0-zHk3PvZXPJshiklVXk678qJRPZ_P7xlhY1hPnJT45A"
      )
      serviceWorkerRegistration.pushManager
        .subscribe({
          userVisibleOnly: true,
          applicationServerKey
        })
        .then((pushSubscription) => {
          // Send subscription info to server in saveSubscription
          saveSubscription(JSON.stringify(pushSubscription.toJSON())).then(
            (res) => {
              console.log("res", res)
            }
          )
        })
    },
    (err) => {
      console.error(err)
    }
  )
}
Now you can for example, just bind handleSubscrirbe to a button
<Button onClick={handleSubscribe}>Subscribe</Button>Sending Message from Server
Now we can send push messages from the server. I will be using pywebpush. This repo has libraries for other languages as well. The libraries handle authentication & signing for you. If you want to know how it works or implement it your self, check out this article.
Note that the subscription_info_str is just the JSON.stringify'd pushSubscription object.
from pywebpush import webpush
import json

def send_notification(subscription_info_str: str):
    subscription_info = json.loads(subscription_info_str)
    webpush(subscription_info,
            data=json.dumps({
                "title": "test notification",
                "body": "heeeeeeeeeeeeee"
            }), vapid_private_key="/app/keys/private_key.pem", vapid_claims={"sub": "mailto:example@gmail.com"})
    return 1
If your service worker shows a notification on push events, you should see a notification when you run the above function!

My service worker code for example, is like this:
self.addEventListener("push", (event) => {
  // console.log("data", event?.data)
  // console.log("text", event?.data.text())
  const data = JSON.parse(event?.data.text() || "{}")
  event?.waitUntil(
    self.registration.showNotification(data.title, {
      body: data.body,
      icon: "/icons/android-chrome-192x192.png"
    })
  )
})
Conclusion
This about wraps this article. It took me a long time to figure out how to get push API to work. I did not even know the private key it self contains the public key and got so confused and frustrated. I hope this article is helpful for people trying to get the push API to work!